

 Sign In


Sims 4 Cutout Tutorial
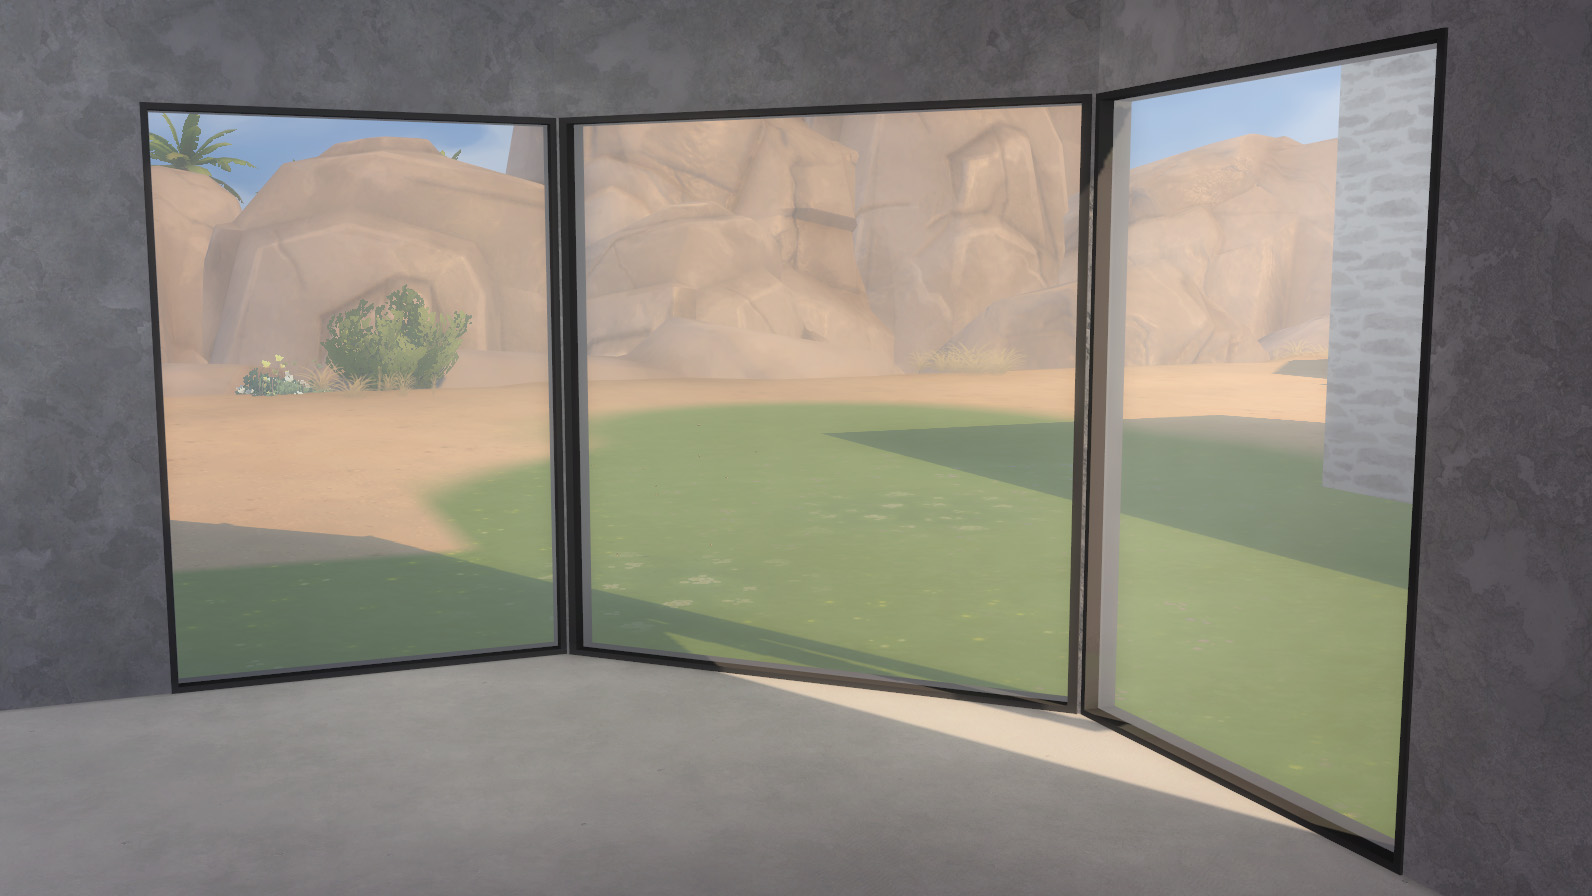
This Sims 4 cutout tutorial will show you how to create a functional window compatible with The Sims 4 using Sims 4 Studio and Blender.
I’m assuming if you follow this thread that you already know how Sims4studio works and that you’re familiar with the basics of making custom content. If not, I recommend learning first with the help of the tutorials you can find on our site.
This tutorial will not show you how to create a new mesh, all it will do is show you how to create a working opening from a mapped mesh.
This tutorial is NOT an easy fix for already existing windows. If you want to repair the broken CC, wait for the batch fix .
What you need
Rectangular Cutout (easy way)
Step 1: Get the coordinates.
- Open your mesh in Blender.
- Create a plane that will be your cutout, aligned with your mesh.

- Go in Edit mode, toggle vertex select mode and select the top left vertex.
- Hit [Shift⇧ + S]> Cursor to selected.

- Look on the right tab ([N] if hidden), and search for 3D cursor location. Copy in a notepad the X and Z coordinates.

- Select the bottom right vertex, hit [Shift⇧ + S]> Cursor to selected, and copy the X and Z coordinates.

Step 2: Edit the Model Cutout
- Open S4Studio.
- Go to the Warehouse, select Model Cutout then click on Edges > Edit Items…
 Note: The 4 first edges seems to be the general shape cutout (maybe for footprint?), the next edges are the actual shape of the cutout. In our case, the window is rectangular so there are 8 edges in total. I recommend to keep the order from EA cutout, and therefor, to clone a mesh that will be close to our final mesh.
 - Paste the coordinates you collected from blender without changing its order. The coordinates are in the format of X,Z,Y and Y will (supposedly) always be 0.
 Example:
From step 1, you collected your top left vertex to be X=-0.5 and Z=2, and bottom right is X=0.5 and Z=0.1.
If the first entry of your cutout is
-1.35131,2.8025,0
-1.35131,0.0475,0
then change it to:
-0.5,2,0
-0.5,0.1,0If the second entry of your cutout is
1.3513,2.8025,0
-1.35131,2.8025,0
then change it to:
0.5,2,0
-0.5,2,0

Step 3 : Edit the Cutout Info Table
In case you didn’t use an EA clone that matches your cutout, or if you just want to create a shape that doesn’t exist in the base game catalog (like 3 tiles windows or wider), you’ll need to change some settings for your item to work properly.
- Go to the Warehouse, select Cut Info Table then click on Entries > Edit Items…

- If you changed the wall height, you’ll need to edit “MinimumWallHeight”
- Short wall= 3
- Medium wall= 4
- Tall wall= 5

- If you changed the wall width, you’ll need to edit “CutoutTileWidth” and enter the number of tile of your object.
 Note: If you’re not sure, know that 1 unit in blender is 1 tile in game. So if your X coordinates are -1.4 and 1.4, your tile width is most likely 3.
Step 4 : Edit the Diagonal
This part is for the windows that have two meshes, two model cutout resources, and two entries in the cutout info table. The second mesh is for diagonal walls.
Now, to find the width of your diagonal window, you’ll need to do a little math. Remember that old pal, Pythagoras ? Apply his trigonometry rule to your window width, and you’ll find your diagonal width value. You’ll need to edit both MESHES and Model Cutout coordinates for your window to work proportionally on diagonal walls.
Note: If you’re too lazy to edit your diagonal mesh, it’s completely fine. Just import your window mesh in the #2 model and paste the same coordinates in the Model Cutout. This is mostly useful if you have a full width window on your orthogonal wall and you want it to be full width as well on the diagonal wall.
Example:
Our window width is 1.
We want the diagonal width, so a.
 According to the Pythagorean Theorem, a² = b²+ c²
Therefore, the diagonal width will be 1.414, and the X coordinates will be -0.707 and 0.707 (as the window is symmetrical on the X axis).

Round Cutout
Disclaimer: This part is experimental and may change in the future. I tried to understand how the round cutouts are made, as they seem different than the rectangular one. Actually, there are no verified hypothesis at the moment on the new cutout method to support my theory so I might not be right.
Finally, the results are acceptable but far from perfect. I noticed than even round cutouts from EA base game items are borked, so I’m wondering if this is the best we can achieve from now on. I’m waiting on Andrew’s S4S batch fix to see if it will be able to do better and will edit this post accordingly if so.
Step 1: Get the Coordinates
This step will change a little from the rectangular method as we will use a short cut to get all our coordinates without picking up each vertices.
- Open your mesh in Blender.
- Create a plane that will be your cutout, aligned with your mesh.

- Go in Object mode, select your plane mesh and go to File > Export >.obj

- Select “Selection Only” and untoggle every options as shown in the screenshot, then click Export.

- Open the .obj file with a text editor, remove the unnecessary bit then replace all space with a comma (,). Those are the coordinates of your cutout, clockwise.

Step 2: Edit the Model Cutout.
- Open S4Studio.
- Go to the Warehouse, select Model Cutout then click on Edges > Edit Items…
- Erase all but the 4 first edges.
- As a reminder, the first 4 edges are the general square shape of our cutout. In your coordinates list, select the higher X and Z and the lower X and Z, and those will be your coordinates. Paste them following this order:

- We’ll now need to add the edges from our cutout. Create as many edges as necessary. Place the coordinates between edges counterclockwise.
Example:
 Following this diagram:
-
- Edge 1: A-B
- Edge 2: B-C
- Edge 3: C-D
- Edge 4: D-E
- Edge 5: E-F
- Edge 6: F-G
- Edge 7: G-H
- Edge 8: H-I
- Edge 9: I-J
- Edge 10: J-K
- Edge 11: K-L
- Edge 12: L-A (closing the loop)
And that’s it for the round cutout tutorial! Check in game to see if you didn’t make any mistake while copying/pasting.


Note that small cracks might appear between some edges. I tried changing the order of entering coordinates and while the cracks move from place to place, I never found a combination that removed them all. Having a larger frame will most likely avoid seeing them, as you’ll be able to have less vertices (the first picture have 12 edges, the second one has 18).
Note also that it is indispensable to go counterclockwise, or your cutout will be taken negatively.

Let me know if you have any questions, if I made a mistake or if you found something I didn’t.
Happy creating!










 Limited Time Offer
 For a limited time only, we’re giving away a free


