

 Sign In


TSR Academy: How to Use Sims 4 Pose Player for Multiple Sims

t It’s been a while since we last looked at one of the most-used Sims 4 mods, the Sims 4 Pose Player. Years ago, I covered a tutorial on the Sims 4 Pose Player, and it’s still one of the most-read blogs I have ever written. So I think it is probably past time for a tutorial on how to pose multiple Sims, groups, or couples with The Sims 4 Pose Player.
If you missed the original Sims 4 Pose Player Tutorial, you can view it HERE.
What You Need to Get Started
First, you’ll need a couple of mods to pose multiple Sims. Click the links below to find the mods you need to pose multiple Sims.
The Mods you will need are the following:
How to Install These Mods
To install Andrew’s Pose Player, Teleport Any Sim, and Pose Packs, move all .package files from Downloads to your Mods Folder. You can copy and paste them, extract them from the zip files, or drag and drop them. Generally, your Mods folder is in My Documents/Electronic Arts/The Sims 4/Mods unless you’ve set it somewhere else.
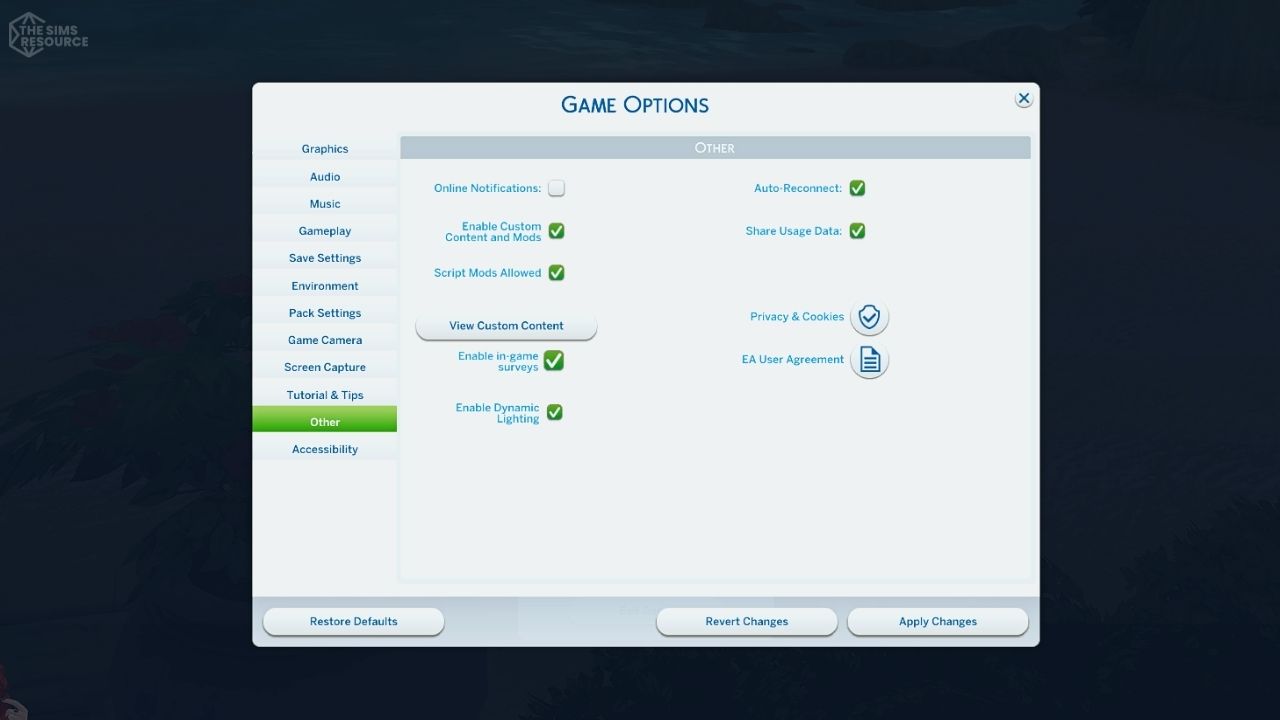
After you move your files, make sure your mods are turned on in the game. You can do this by launching the game, going to Game Settings by clicking the 3 …s, selecting Options, and checking the boxes for Enable Custom Content and Mods and Script Mods Allowed. If this wasn’t already checked, you will need to restart the game for it to take effect.
If you need help installing CC, PLEASE CHECK OUT OUR VIDEO TUTORIAL ON HOW TO INSTALL CC HERE, OR IF YOU WISH FOR WRITTEN INSTRUCTIONS, we have directions HERE.
How to Pose Multiple Sims
Alright, now that the mods are installed, let’s move on to posing multiple Sims with the Sims 4 Pose Player.
Step 1: Place The Teleporters
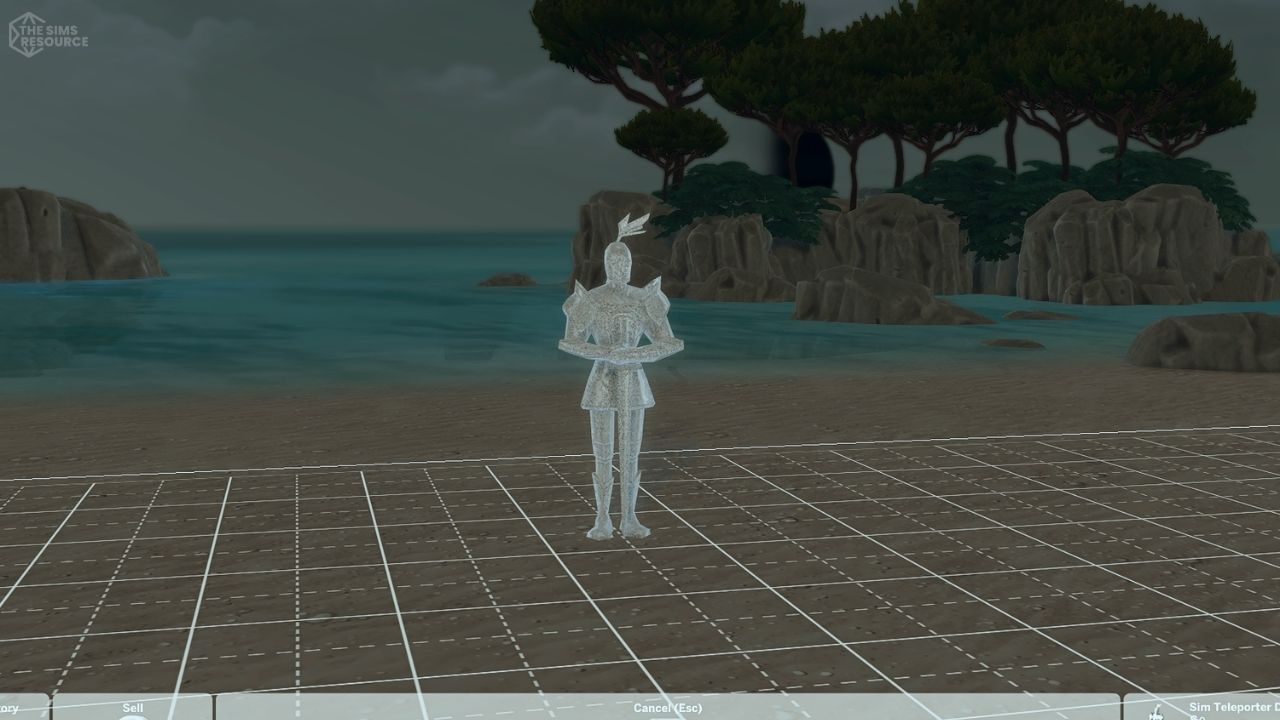
Now that we are ready, simply place your teleporters on top of each other. One teleporter per Sim. Face them all the same way unless the pose notes say otherwise or you are changing the desired setup.
Step 2: Teleport The Sims & Assign Poses
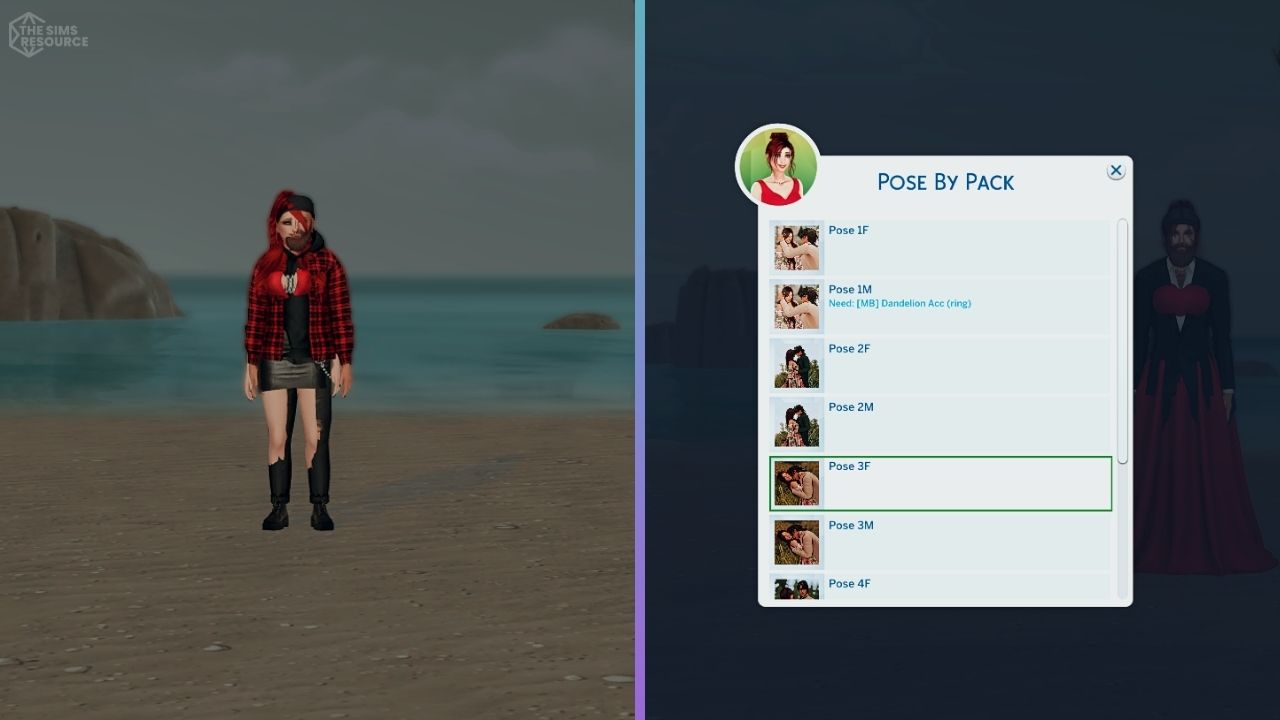
Teleport or Summon your Sims to the desired spots using the Sims Teleporters. Once all Sims have appeared, start assigning the desired poses. Most pose packs will have things labeled Pose 1 Sim A, or something to that effect.
Suggested Additional Step: Pause the Game
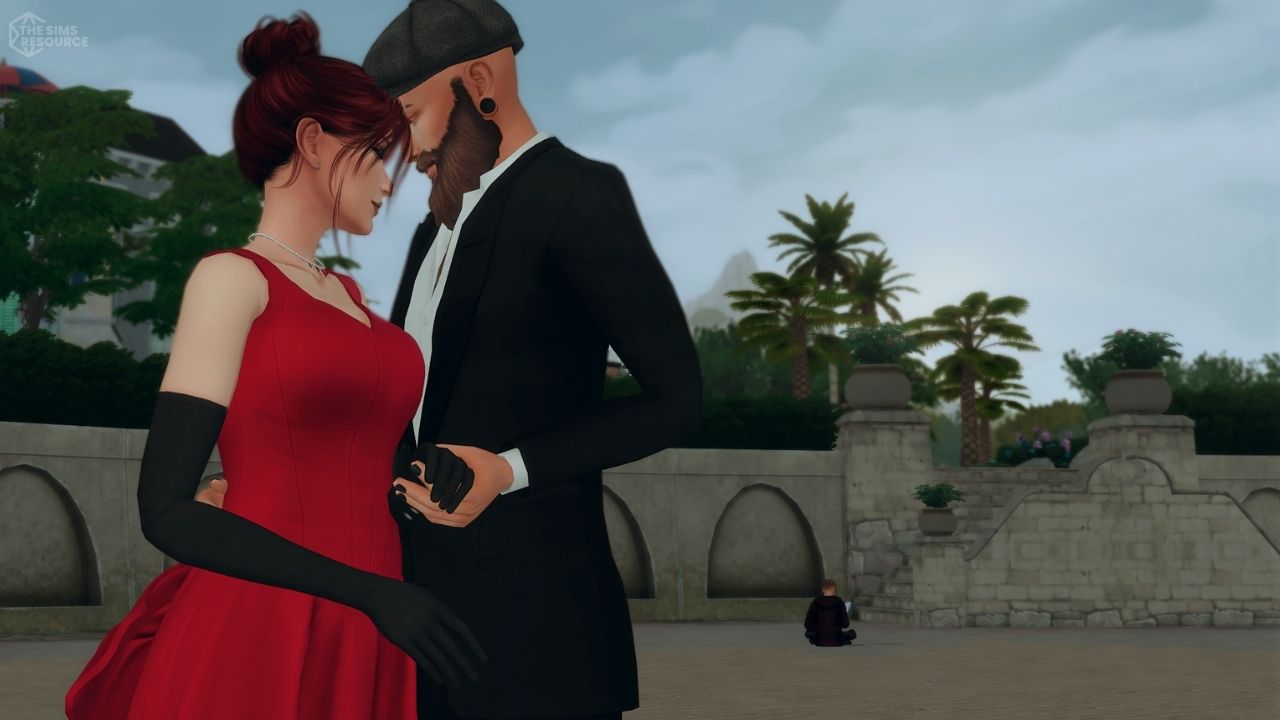
This is an entirely optional step. However, I caution you not to skip this step. First off, Sims are pure chaos if left unattended, so you cannot predict what Sim will show up in the background of your image and do whatever Sims do. And secondly, well needs. You don’t want your Sims peeing themselves or worse during a photoshoot.
Step 3: Screenshot Time
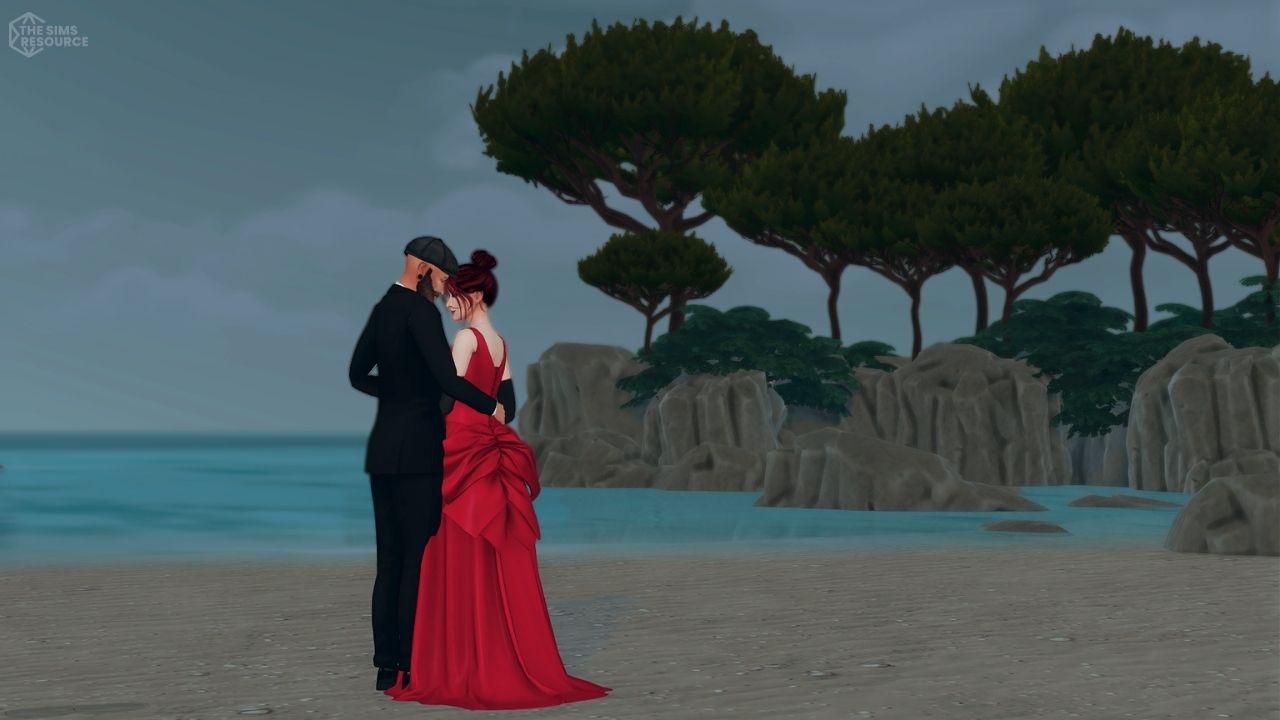
Now that everyone is set, you can take your Screenshots or Videos!
Final Tips
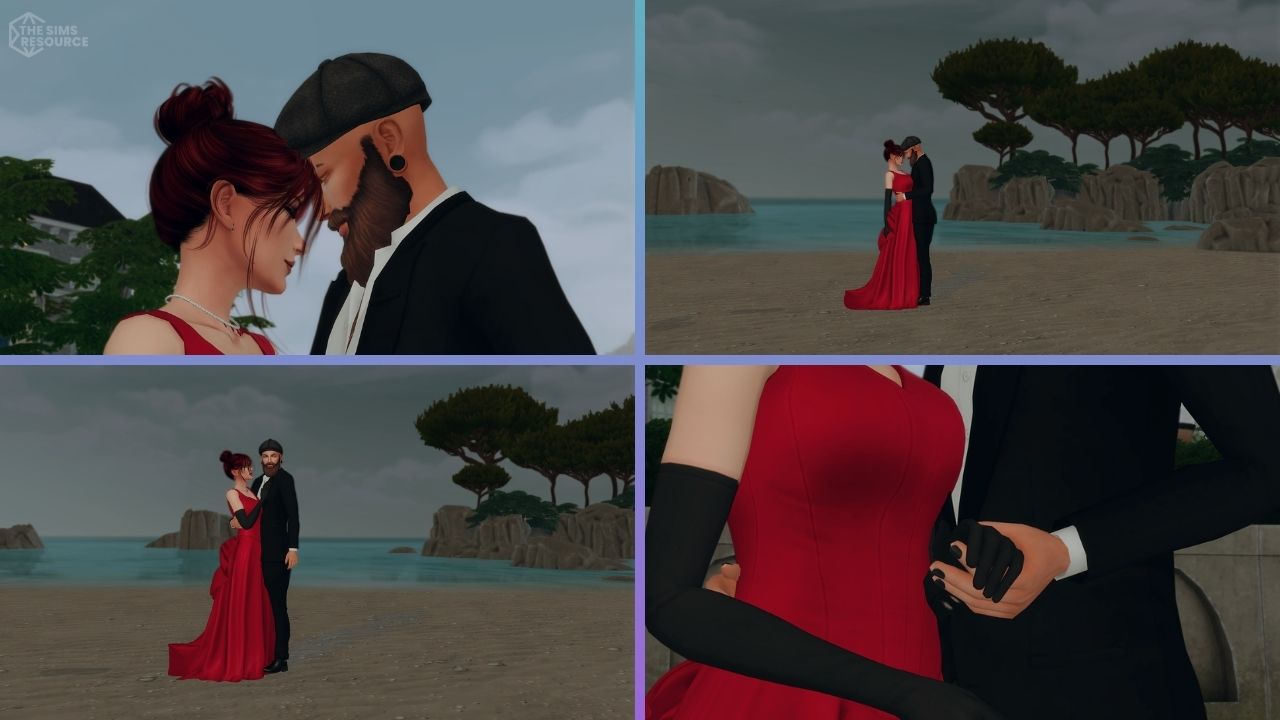
I’ve used this method weekly for years; one thing I have learned is that if you mess up and have to go back into Build/Buy, your poses will reset, so you will have to reset both Sims. Also, I always pause my game once I get poses set up, as I’ve had Sims die during photoshoots more than once… or start doing their normal weird Sim behaviors when unpaused. My final tip: I have tons and tons of CC installed, so I always search for the teleporter by typing “teleporter.” I think that makes it a lot quicker.
Finally, in most cases, you’ll need to stack poses with multiple Sims on top of each other to make spacing easier. If they need specific distances, it’s a nightmare to place, so trust the process. I hope this helps you take incredible photos of your Sims! Until next time, Happy Simming!
The pose pack used for this tutorial is the Beloved Posepack by Ashlegacies that you can find HERE










 Limited Time Offer
 For a limited time only, we’re giving away a free


