
 Sign In
 Support


KiduJoJole's Blog
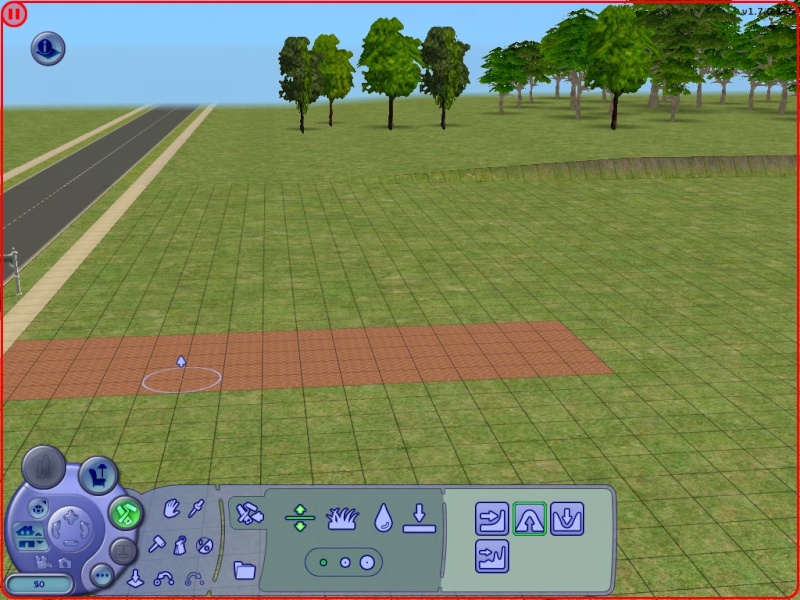
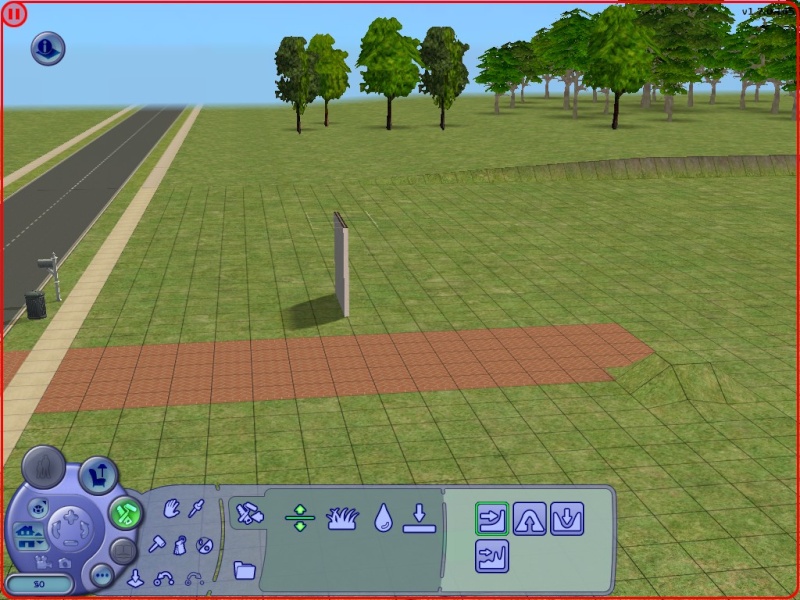
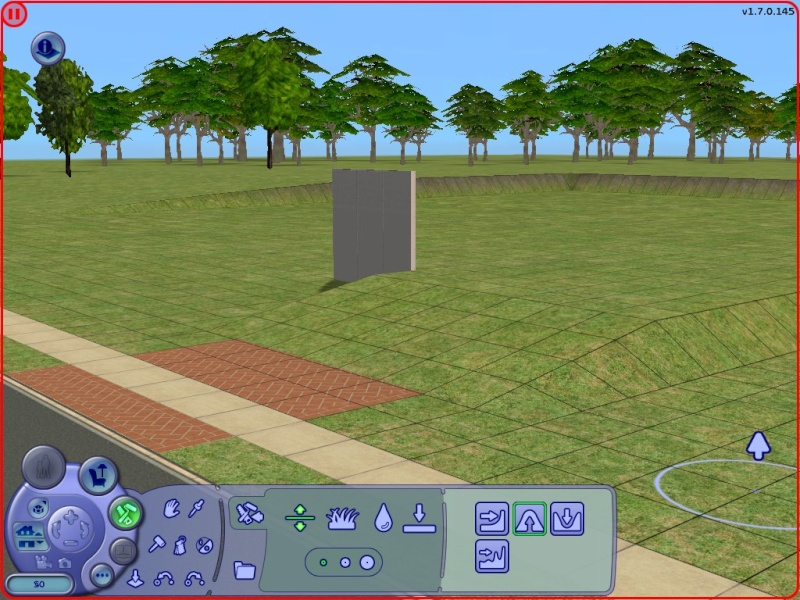
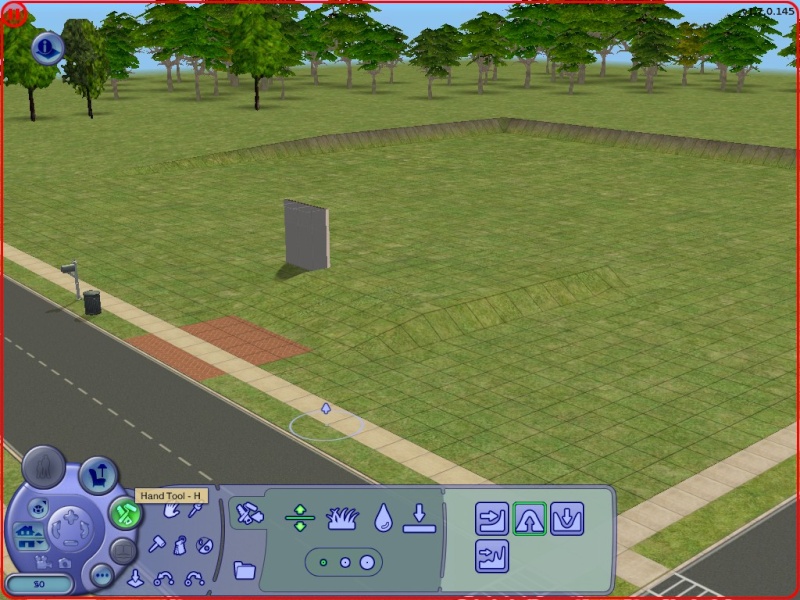
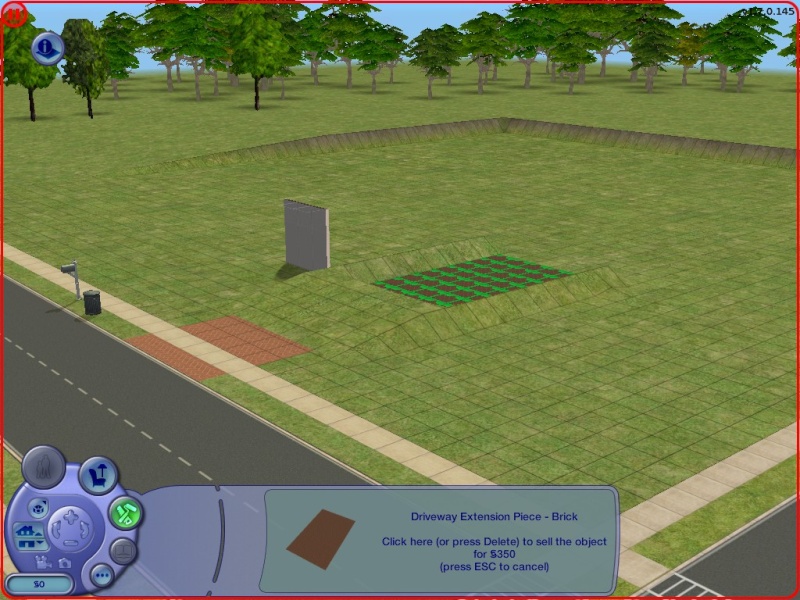
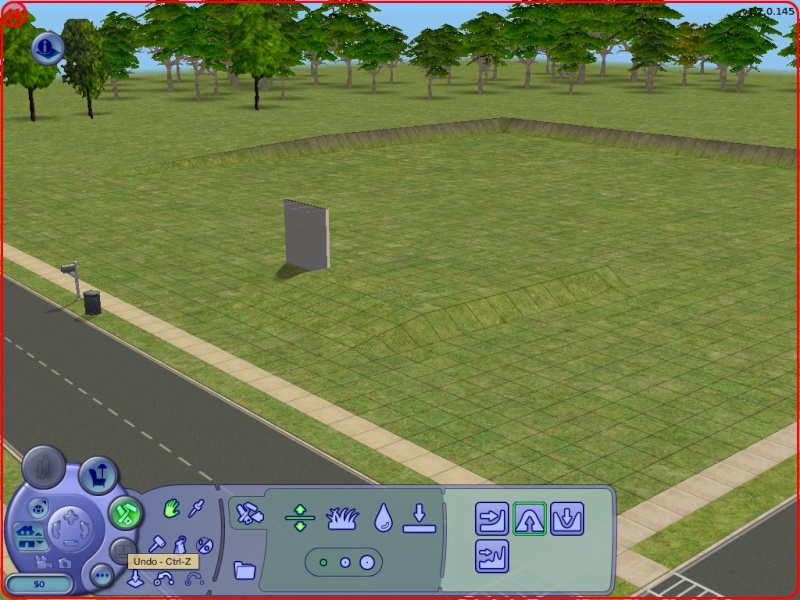
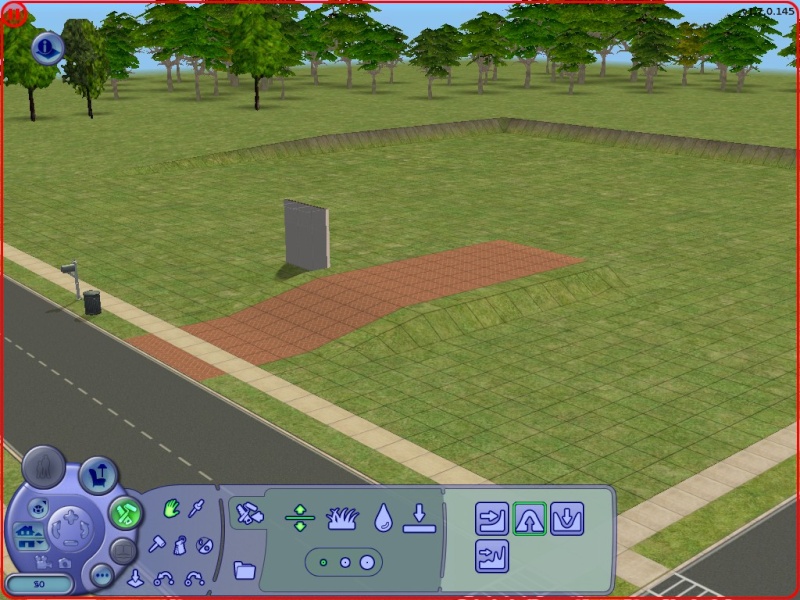
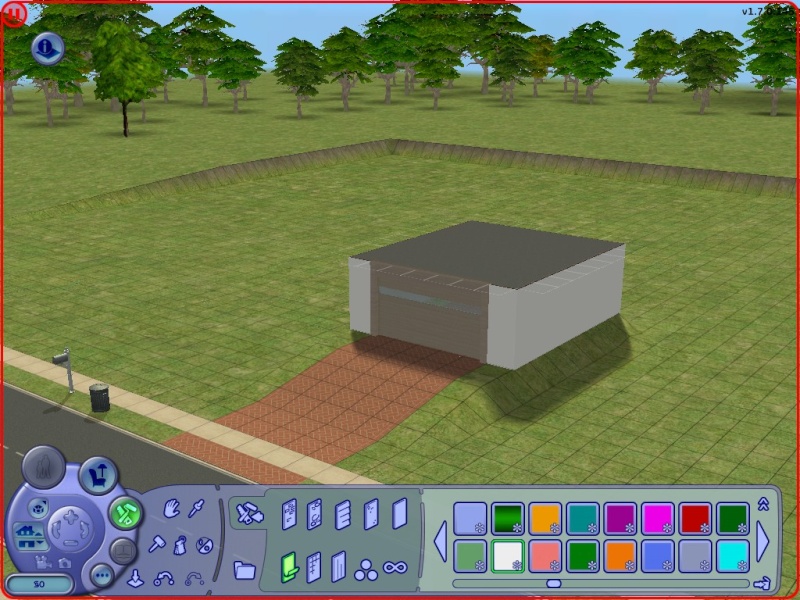
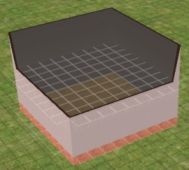
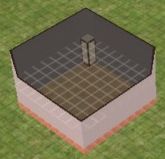
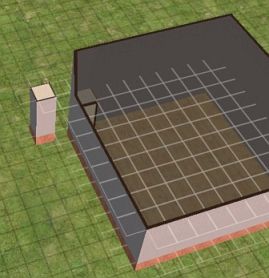
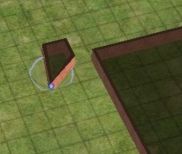
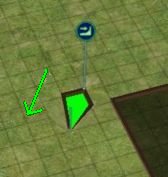
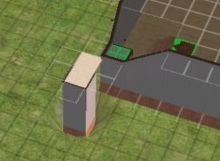
The Sims 2 - Tutorial - Underground Garage
http://www.youtube.com/watch?v=Q89o9TgdRYo
I'm currently making a new "Underground Garage" tutorial -since almost
every one are having trouble- it's better and easier to build, soon
there will be a link. Thank you for read, rate, comment and watching my
videos.
How to build a garage undergound? Here is my tutorial, hope you enjoy x)
Cheat codes used:
-moveobjects on/off
-boolprop constrainfloorelevation false/true
Hope I helped you:D

Sims 2 Screenshots Basics
Big Pics
The larger your pics, the better! Tiny pics won't show enough detail to see what you've made.
- Minimum Size: 800 pixels wide by 600 pixels tall is a good size for the smallest pic you would want to upload. You may have smaller pics for thumbnails and the like, but for your required screenshots, please go as big as you can!
- Maximum Size: MTS allows pictures up to 1280 pixels wide by 1024 pixels tall, and a file size limit of 244 kbs - so you can have nice, big, pretty pics. You may have to resize your pictures or apply compression to get them to fit within that limit.
Please don't just take a small pic and size it up in your graphics
program to get bigger pics - this only makes the dimensions larger but
doesn't add any detail and just gives you a blurry, pixellated larger
pic, not a nice clear one.
Well Lit
Make sure you take your pictures during the daytime in bright sunlight, in a well-lit room, etc., - make sure your screenshots are nice and bright enough that people can see what you've made. Nighttime shots or those in a dark room really don't show off your creation very much.
TS3: Please see information below under Windowed Mode regarding your otherwise bright screenshots going dark!
Camera Controls
Take some time to just play around with the camera. It can take a while to get used to the camera controls, and even once you are experienced in their use, it may be challenging to get the shot you want with the constraints on the controls.
If you haven't taken many sim pictures before, here is a list of camera controls:
- TAB
Puts the game into Cameraman mode, allowing better and more control of the camera, and removing the blue user interface. Make sure you are in live mode before going into Cameraman mode or you will see grid lines on the ground and floating where floor tiles may be placed. TS3 Note: You will only be able to go into cameraman mode once per load if you are in buy/build mode (without a family moved in). You can either exit to the neighborhood and return to take more pictures, or instead just move a family in for taking your pics.
- W and S
W moves the camera forward. S moves it backward.
- A and D
A moves the camera left. D moves it right.
- Q and E
Q lowers the camera. E raises it.
- + and -
Zooms in and out.
Windowed Mode
TS2: In order to take your pictures using the methods described here, you will need your game running in a window, so you can easily switch to other applications without causing major instability and lag. Instructions on setting up Windowed Mode for Sims 2 may be found here: Game Help:Windowed Mode. Windowed mode should be perfectly safe - in fact, some users actually report better game performance when running in a window. Your mileage may vary.
TS3: In Sims 3, you can use windowed mode by simply choosing it
in your game's options. Windowed mode will allow you to use Print
Screen or FRAPS or whatever screenshotting program you desire, without
getting darkening of your pictures. If you do not choose to use
windowed mode for TS3, you must use the C key to take pictures using the
in-game camera - taking pictures fullscreened in TS3 without using the C
key will result in icky dark screenshots.
C Key vs. Screenshot Program/Print Screen
TS2: In order to take nice big pics, you should not use the game's screenshot system, using the C key or the camera button on the game's controls to take your pictures. Even on the highest picture settings, pictures will still be small, with a very high level of JPEG compression, making them blurry and crunchy. Instead, use Print Screen or a screenshot program.
TS3: The C key camera is much improved in TS3, making it possible
to use to take pictures for upload and still have nice big, pretty
pictures. You can still use a screenshot program or print screen if you
desire, but you will need to run your game in Windowed Mode (see above)
to keep your pictures from getting dark.
Screenshot Program
There are many programs available, free and pay, that will take screenshots for you by using a hotkey, and save them to a folder - just like The Sims 2 with the C key, but with options for much better quality settings.
A quick Google search for 'free screenshot program' will also bring up many other options, which may have other features that are of interest to you.
Print Screen
If you have enough RAM to run Photoshop or another graphics editing program at the same time as Sims 2, you may want to take screenshots yourself, without the use of a program to store them for you.
To do that, simply press the Print Screen or PrntScn key on your keyboard - it's usually off toward the right, over the arrow keys, above Insert and Delete. This will copy your current screen to your Windows clipboard, as if you had selected and copied it as an image.
Then open any graphics editing program, create a new document the size of your monitor's resolution, and paste into that document. Your screenshot should appear in the document.
Optimizing your images for upload
Many simmers struggle with getting their images to be clear, crisp and under the 244kb file size while keeping the image size larger than 800px by 600px. After getting your images from the in game camera or using a print screen program you will need to resize them and compress them into a jpeg image. Many graphics programs have a built in optimizing feature.
How to create a Pool Island. And advanced pool building tips.
Pool Islands are not
incredibly difficult to do, but before you attempt it, I strongly
suggest you take a look at Snooty's L-Shaped
Pools Tutorial. (It will open in a new window)
Now, if you have tried to create a pool island before, the
problem you may have run into is that it wont let you place a section of
the pool. The reason for this is that the game draws an imaginary
rectangle around the pool that you have already created... it will only
allow you to add sections of pool to areas outside this rectangle. Dont
worry if that doesnt make sense to you, you dont need to understand it
to do this tutorial :)

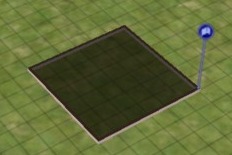
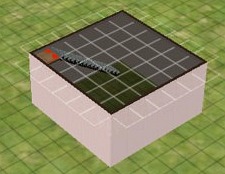
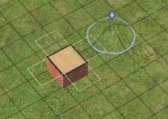
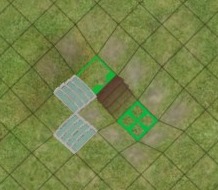
1) Imagine that this is where we are going to create our pool
island. At the end of this tutorial, the brown area in the center will
become an island, and everywhere else will be water.
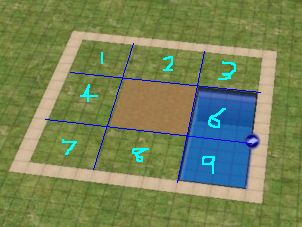
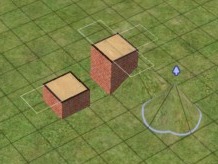
2) Start off by creating a pool that completely covers area 6
and 9.
Make sure it doesnt enter any of the other areas.
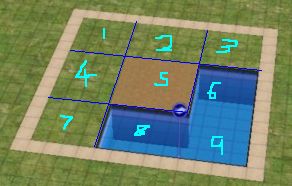
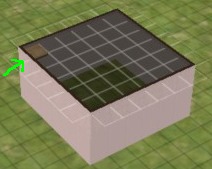
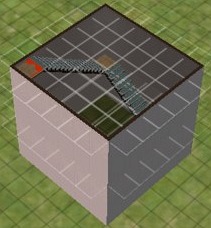
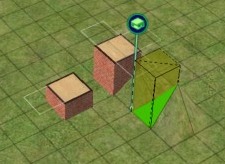
3)
Here is the
tricky part:
While still using the pool tool, hold down CTRL and
drag a stretch of pool in area 8.
Now, release the CTRL key, and then the mouse button, and without moving
the mouse, just click once. A new stretch of pool should appear!
If you have difficulty doing this, go take another look at the L-Shaped
Pools Tutorial.
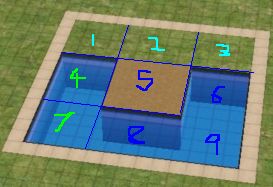
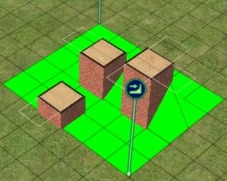
4) Using the same method as before, fill in area 4 and 7 so
that only area 1, 2 and 3 is left.
5) Finish off by filling in area 1, 2 and 3 and your pool
island is complete!
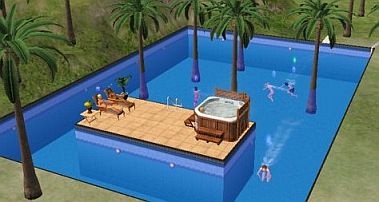
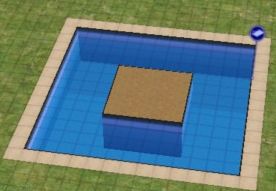
6) Decorate the pool and island however you wish.
Try the Pool Tips tutorial for decorating ideas.
Advanced Pool Tips
For those who are interested in doing more advanced work with pools, I will explain some of the problems you might have when working with complex pools.
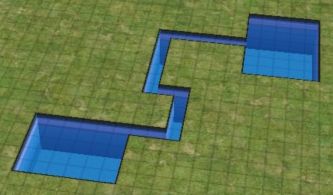
Here you can see an interesting shaped pool that I have created.
Remember that although you can only see the exposed areas of the pool, the game actually considers the pool to be as big as the rectangle that you can draw around it.
This is why when you try to add an area of pool inside the rectangle the game will not let you.
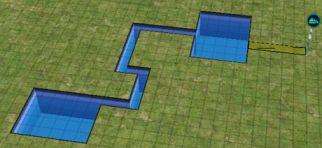
It will let you add an area of the pool to somewhere that is outside the rectangle.
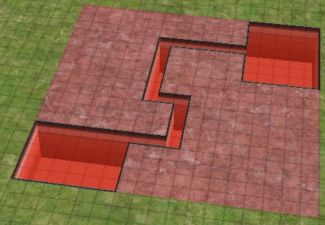
But remember, once you add this area of pool, it will increase the size of the rectangle surrounding the pool.
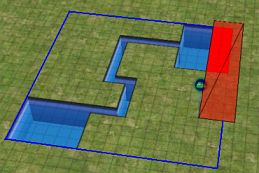
Notice that you cannot delete bits and pieces of the pool wherever you want.
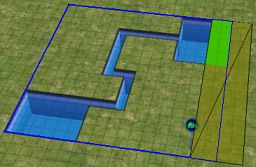
You can only delete parts of the pool by shaving off entire sides of the rectangle like shown above.
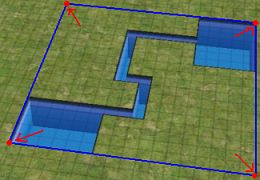
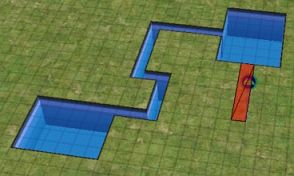
Be very careful when changing the height of the terrain at the corners of the rectangle.
I am still not sure what causes this, but sometimes it will make the water-level of your pool appear either above or below the pool, depending on what you raised it to.
The easiest solution seems to be to flatten the ground at these areas, save and quit to the neighbourhood, then go back into the house.
This info took me a while to work out, so hopefully it will save you some time when creating your own advanced designs.
One last thing, you can create two seperate pools, and then link them together. Until you join them, each pool will have a seperate rectangle. This can sometimes the the easiest way to create certain designs of pool.
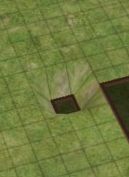
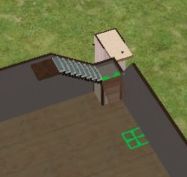
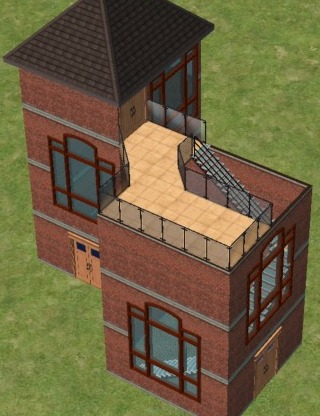
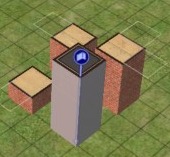
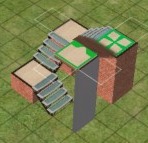
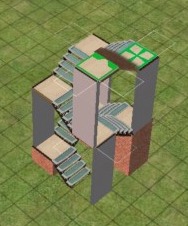
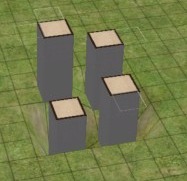
Advanced Internal Stairs on a foundation.
1) Build a two story house on top of a foundation.
2) Build a 1x1 room in the corner of the first floor
This will eventually become the middle landing between the
stairs.
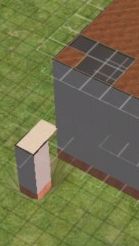
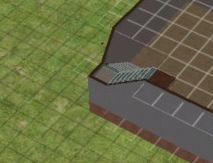
3) Now build another 1x1 room on top of a foundation in the
exact position shown in the image below.
---
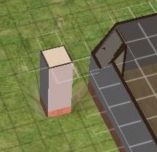
4) Next, you will need to turn on a building cheat.
Here is how to do it:
To enter in cheats, press and hold down CTRL, SHIFT and C.
You should see a small white box appear in the top left corner of the
screen.
Type in boolProp constrainFloorElevation false and press enter.
This will allow you to change terrain, even when there are objects on
it.
Careful, this cheat can screw up a house, so only use it where
specified.
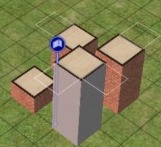
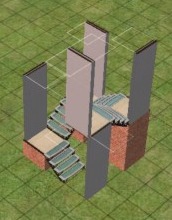
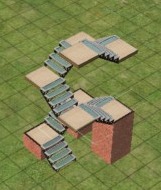
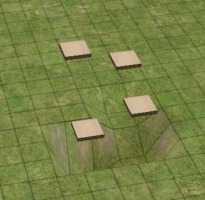
5)
Use the small "lower terrain" tool and click in the corner of
the foundation exactly eight times. It is very
important you do the correct amount.
 |
 |
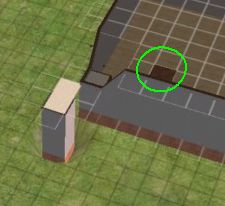
6) Drag the "flatten terrain" tool from the top corner to the
bottom, so that the foundation becomes low and flat like shown above.
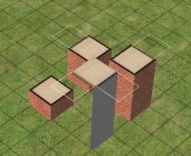
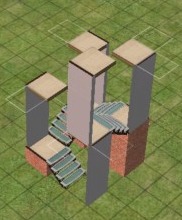
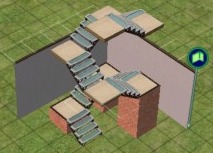
7)
With a floortile selected, click again on top of the small
building. It should lower part of the large building like shown above.

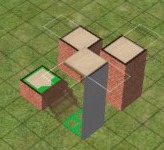
8) Now click in the corner that is diagonal to the corner of
the large building. You should see that the whole landing is lowered.
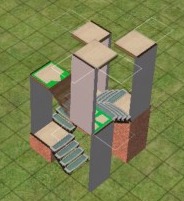
9) Two places
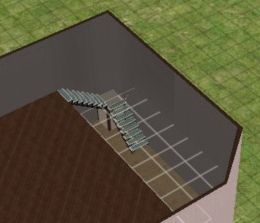
away from the landing, add a new floortile where shown.
10) Using the connecting stairs tool, join the second floor
to the landing.
11) Again use the connecting stairs to finish off your
staircase.
 |
 |
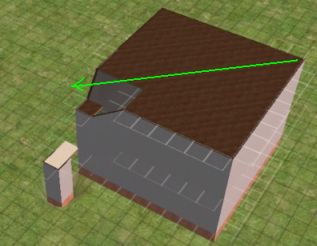
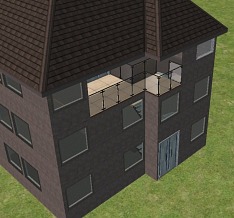
12) To flatten the roof of your building, get a floortile, and drag from
one side of the building to the other. The roof should become flat like
shown above.
---
13)
You can now turn off the cheats by hitting CTRL-SHIFT-C and
typing in
boolProp constrainFloorElevation true
14) You can now remove that temporary structure you created
earlier.
First remove the floortiles, then the walls, then the
foundation, then flatten the ground.
15) Finish off the 2nd floor however you want.
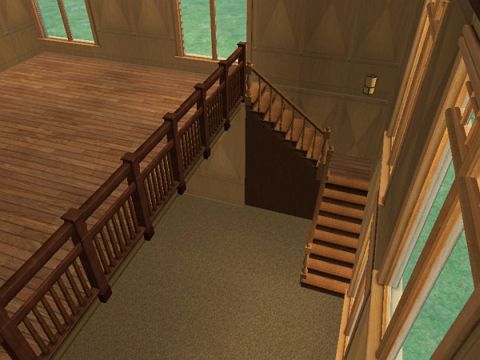
16) Your advanced internal L-shaped stairs on a foundation are
complete :)
geez is that a mouthful or what? :p
I tried to make this tutorial as easy to follow as possible...
but there are MANY different and possibly more effcient ways to build
these kind of stairs. So as I always say, experiment.
How to make Creative Object Tips
Although for most of
us, we can't create new objects yet, it is
possible to combine existing objects to create interesting designs. This
page will show you some examples of the kind of things you can do by
using the object cheats.
We will be using 2 cheats to do these tutorials.
To enter in cheats, press and hold down CTRL, SHIFT and C.
You should see a small white box appear in the top left corner of the screen.
Type in the cheat you want and press enter.
moveObjects on
will allow you to place objects inside others.
Use moveObjects off to deactivate it.
boolProp snapObjectsToGrid false
will allow you to move objects without the constraints of the grid.
Remember to use boolProp snapObjectsToGrid true to turn it off.
Do NOT try and place doors or windows with this cheat... it won't work!
 |
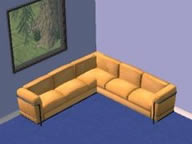 |
Without the moveObjects cheat on, you will not be able to intersect objects, but turn it on,
and it becomes easy to create something like this L-Shaped couch.
 |
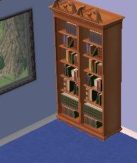 |
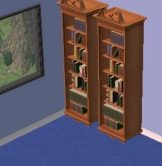
With the snapobjectstogrid cheat, you can move objects closer together. In this example you see an
extra-wide bookcase.
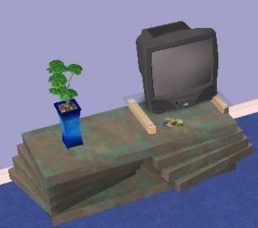
Tv on coffee table.
Dense bushes and trees.
To create a built-in looking fridge, simply move it further
into the wall.
You can
also do this with other appliances such as the dishwasher.
This is four lights with different rotations, put together to
create a single light.
Make your posterbed actually look like one!
Create an extra wide desk by placing two desks together.
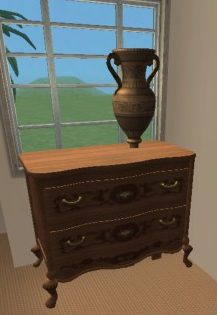
This statue is on top of a small coffee table, inside the
chest of drawers.
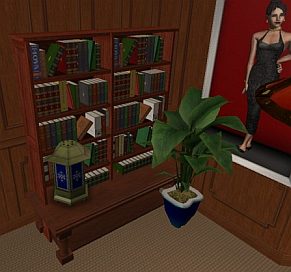
This is two bookcases on a table, with a light and plant.
Sims can still get books from it!
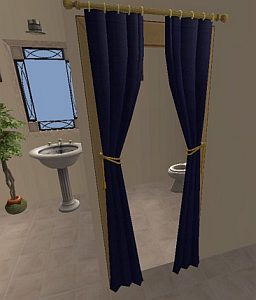
You can place curtains on archways for a nice effect.

With the cheats on, you will be able to place streetlights and trees on
the other side of the road. Also notice the last streetlight is combined
with another.
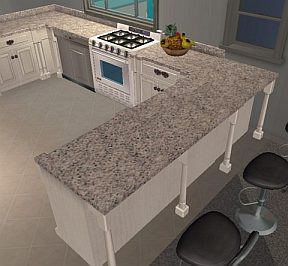
Usually kitchen islands will not connect with normal kitchen
counters, but you can use an extra counter to fill in the gap.
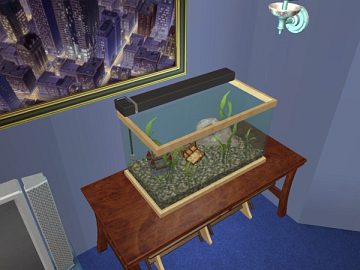
Fishtank on table.
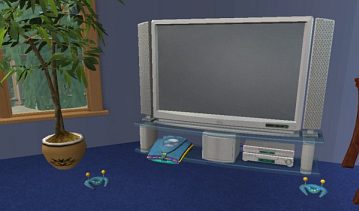
Game system under the tv, with the controllers moved aswell.
Made by using the small and medium size couches together.
(sims may not sit on it if they are too close together)
Star-table made by using two triangular tables together.
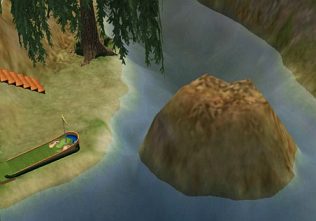
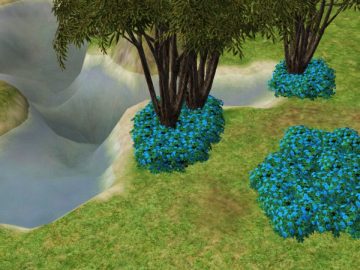
Raise and paint the terrain to make it look like a rock
outcrop in your creek.
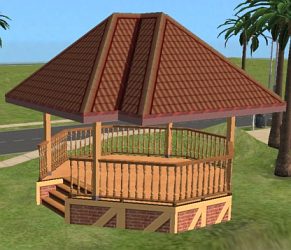
Place a foundation, fence, stairs, and roof to create this
gazebo.
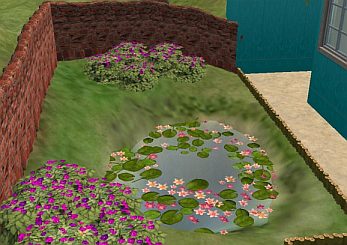
This pond has extra overlapping lillies.
This centerpiece was made by first lowering the terrain, then
adding the plants
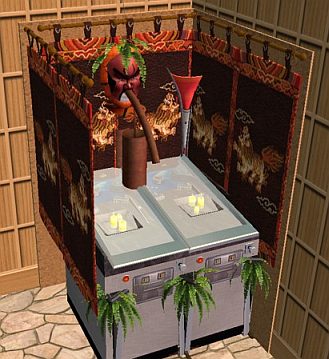
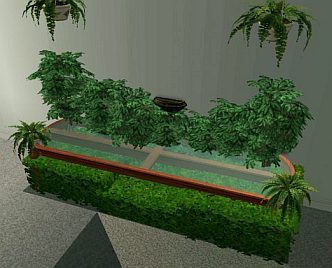
I have no idea what this is, but it was fun to make :p
It uses counters, plants, masks, pinball machines, candles,
statues, bookcases, wallhangings, and lights.
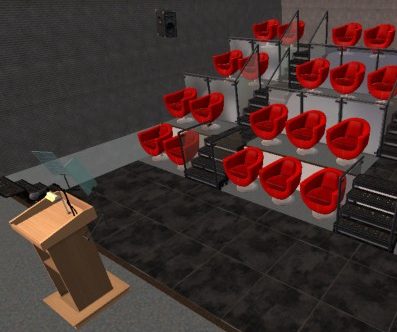
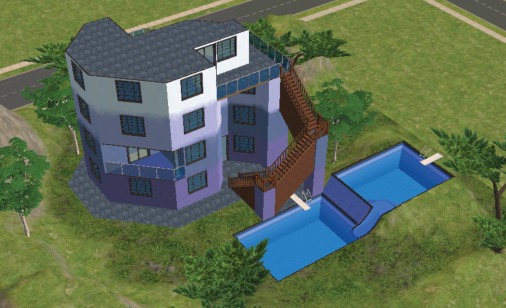
This lecture theater was a bit tricky to make, and beyond the
scope of this tutorial, but use your imagination and see what you can
come up with :)
How to create circular stairwells.
1) Create a 6x6 room

2) Make it as high as you want your staircase to be.
3) Add 1 piece of flooring to the corner of the 2nd floor
room.
4) Use the connecting stairs to join that level to the ground
5) Repeat the process, moving to a new corner of the room on
each floor.
6) Create a building to join your staircase to, and you are
done!
You can even remove the walls around
the stairs, to create a more open feel.
PS. This pic was
made by using external programs... you cant do a slide in TS2 yet. :(


I need help!
Hey TSR!
I can`t upload something new on TSR Submission Area, because the item ID now it have seven numbers and I can't write it!:|:(
If you now how I could do o this case please put a comment!
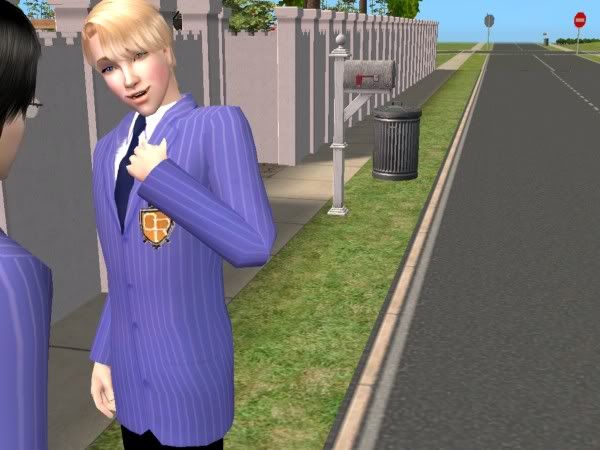
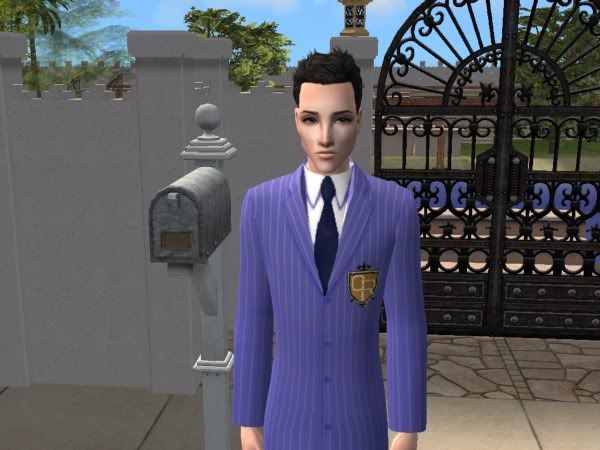
Anime/Manga Characters
Hi!!
I love anime and manga, so I´ve done some sims that belongs
to some manga/anime series. I wanted to show them and of course I want
you to show yours  I´d love to.
And, I promised GIRalicousx to show (her? are you a girl, aren´t you? sorry  ) to show my Ouran sims
So, Here they are :P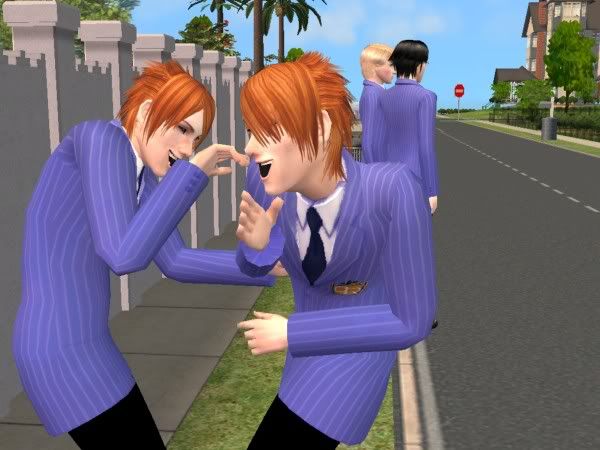
Hikaru and Kaoru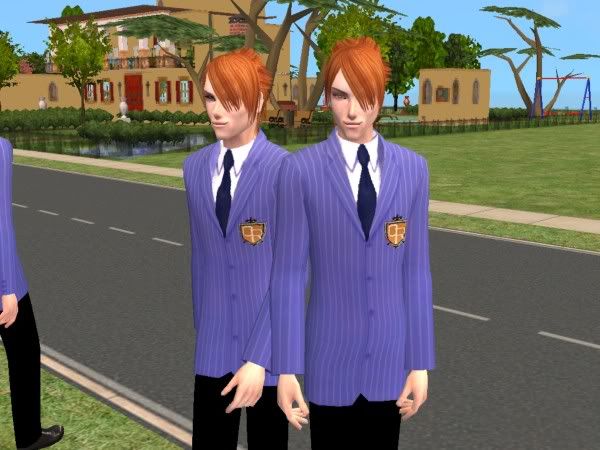

Kyouya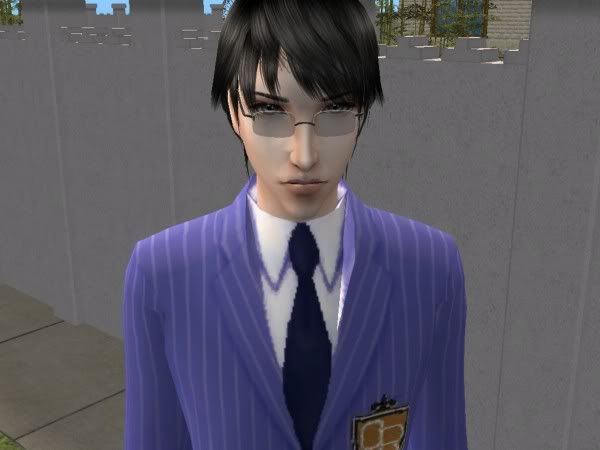
Tamaki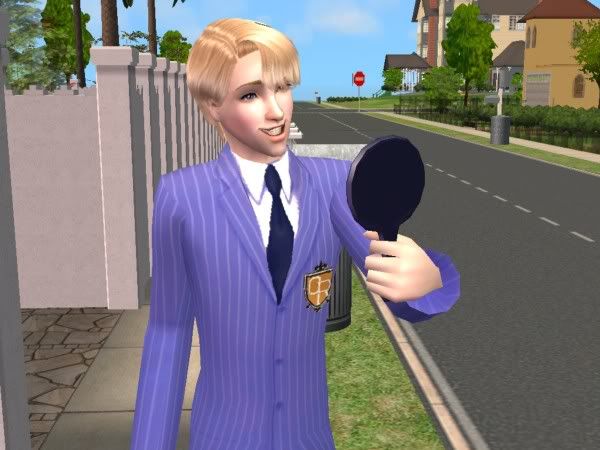
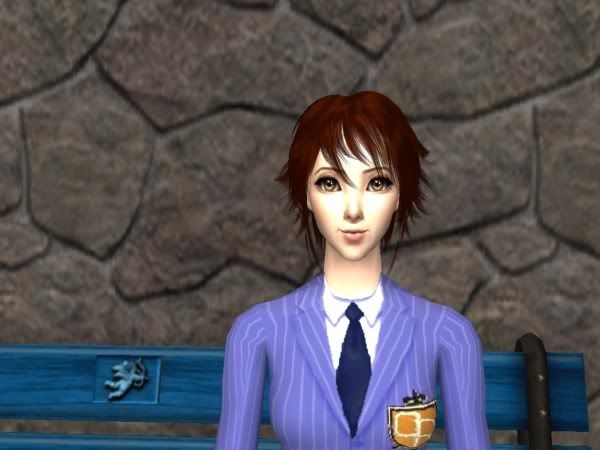
Haruhi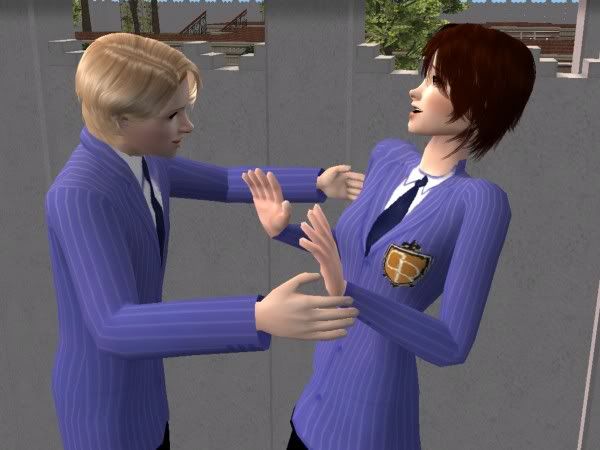
(I love this pic hahaha it´s so real)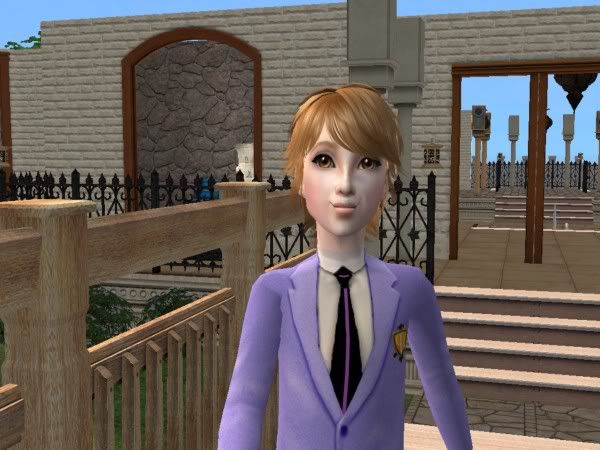
Honey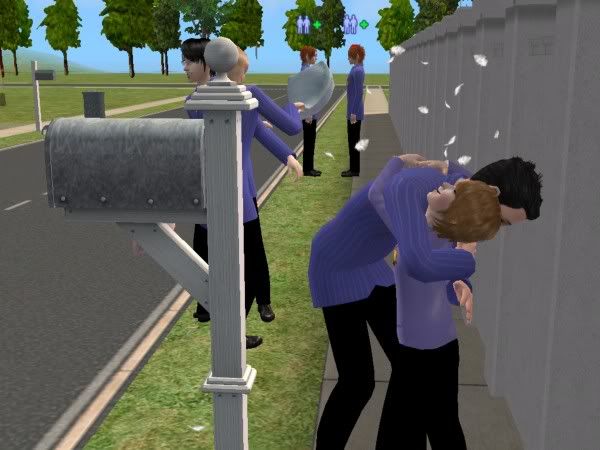
Mori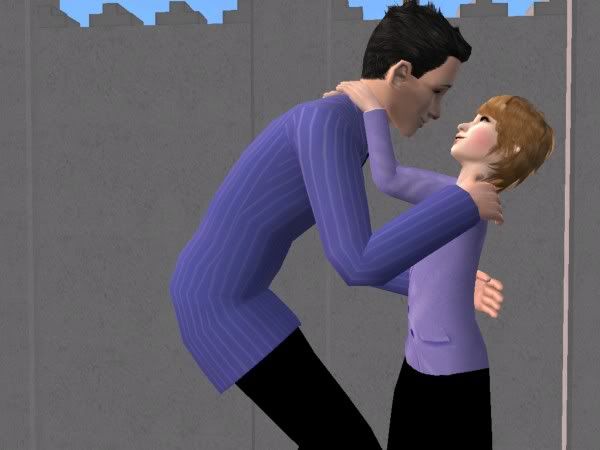
(Honey and Mori)
Family pic!!
A lot of pics...I know, I apologize :-\ but there are a lot of characters hehehe.
I hope you like them.
bye!!
How do you make 2 sims pose together
If you have Open For Business, you can use the invisible recolor of the
Magisplay tray, to put one of the sims on it, so it they don't snap out
weirdly when you are trying to put them too close together. Download the
recolor here-
http://www.modthesims.info/download.php?t=181208
If you don't have OfB (you can still use them if you have it), you can use these-
http://realizeadream.wordpress.com/2008/10/02/sim-poser-omsps-no-ofb-required/
You need to get the BONUS DOWNLOAD at the bottom of the page, if you only want to place sims next to each other on the ground.
SilentLucidity
from MTS2, also made some of his/her shiftable OMSPs usable for sims
and with them you can put your sims are many different heights-
http://www.modthesims.info/download.php?t=325570
These
are all solutions for the snap-to problem that occurs when you try to
place two sims too close to each other. I don't know what other "weird
stuff" you have happening when you are trying to pose them, so can't
really help further. What do you mean by "They'd usually be place right above the Sims" :-\ ? What exactly is placed above the sims?
Some
poses, like one sim holding the other in his/her arms and such, are
made to be used with the type of OMSPs i talked about above.


 Limited Time Offer
 For a limited time only, we’re giving away a free


